Looking for a clear guide on security camera installation? This article covers the steps you need to know for “security camera how to install” your cameras effectively. Learn how to choose locations, connect hardware, and configure your system for optimal security.
Key Takeaways
- Installing security cameras enhances property protection and serves as a deterrent against criminal activities.
- Careful planning and selection of camera locations, along with choosing between wired and wireless options, are crucial for effective surveillance.
- Regular maintenance and testing of the security camera system prolong its effectiveness and ensure optimal functioning.
Why Install Security Cameras?
Security cameras are crucial for protecting your home security camera, family, and property. CCTV systems enhance security for homes, businesses, and industrial sites. Beyond physical safety, they also foster a secure environment, promoting a sense of well-being among residents and employees.
CCTV cameras serve several important functions:
- They act as a strong deterrent against criminal activities, discouraging potential intruders.
- They allow for monitoring of blind spots that are difficult to supervise directly.
- They provide recorded evidence for criminal investigations using a cctv camera.
Additionally, security cameras help protect against false claims by providing video evidence. Installing them is a proactive measure to secure your property and enhance safety.
Essential Tools and Components for Installation
For a smooth installing CCTV installation, gather the necessary tools and components:
- Drills
- Screwdrivers
- A ladder
- CCTV cameras (wired or wireless)
- A DVR/NVR
- Connectors
- Power cables
- Mounting tools
- Ethernet cables
- A monitor or PC.
Being prepared with all tools and components before starting saves time and avoids frustration. Whether securing your front door or a business property, a well-organized approach ensures successful installation and demonstrates your ability.
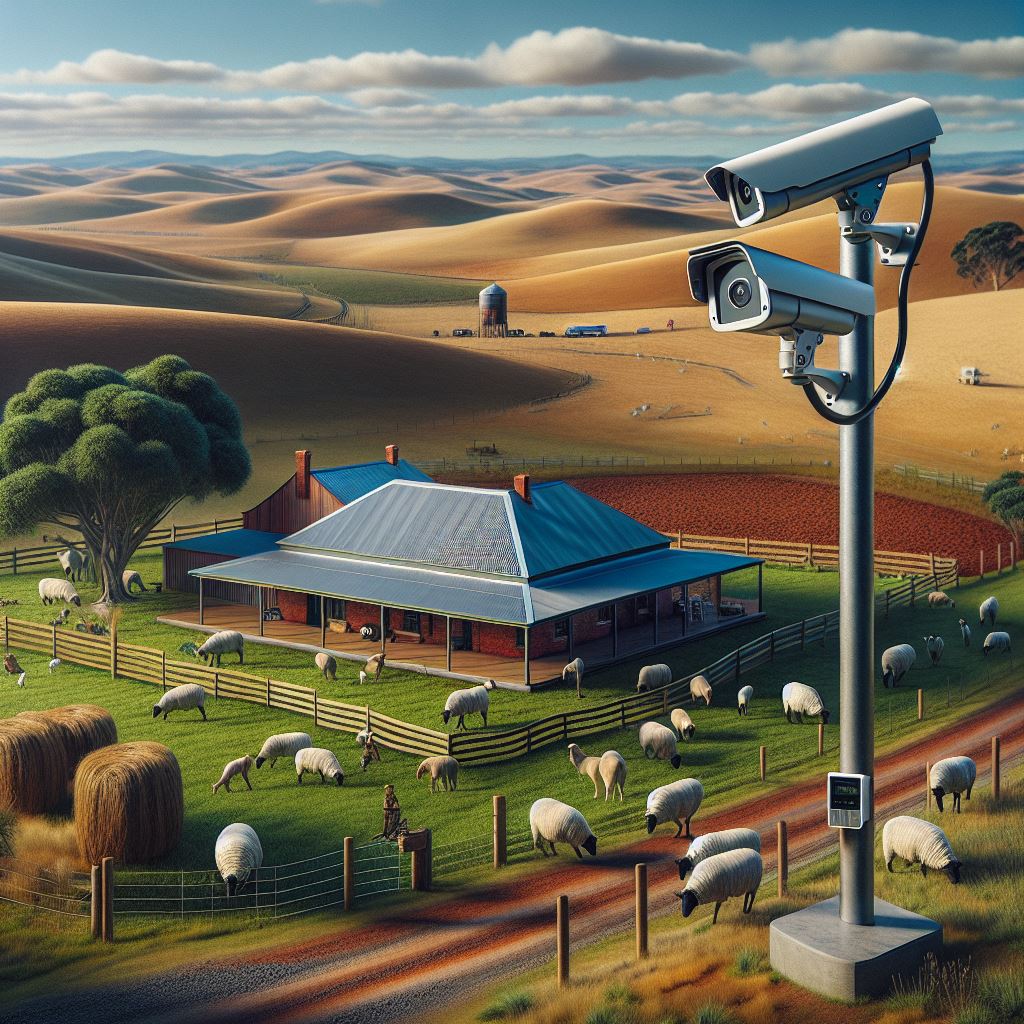
Planning Your Camera Locations
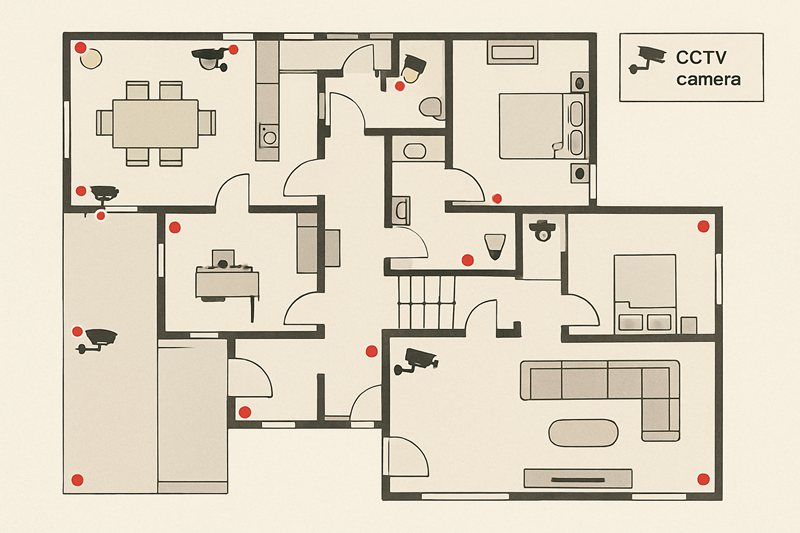
Effective surveillance relies on strategically placing security cameras. Key areas include:
- Entry points
- Common areas
- Vulnerable spots
- Driveways and parking areas to monitor vehicles and potential intruders
- The main entrance, often the primary entry point for intruders, is also crucial for surveillance.
Monitor secondary entrances like side and back doors, ground floor windows, and hidden areas to prevent intrusions. In commercial properties, high-risk areas such as loading bays and cash transaction points need dedicated camera surveillance.
Consider lighting conditions and use night vision cameras to improve visibility in low light.
Choosing Between Wired and Wireless Cameras
Choose between wired and wireless cameras based on installation ease, signal reliability, and maintenance needs. Wired cameras offer stable power and data through a single connection, ensuring high-quality video and are preferred for high-security locations due to reliability and minimal interference.
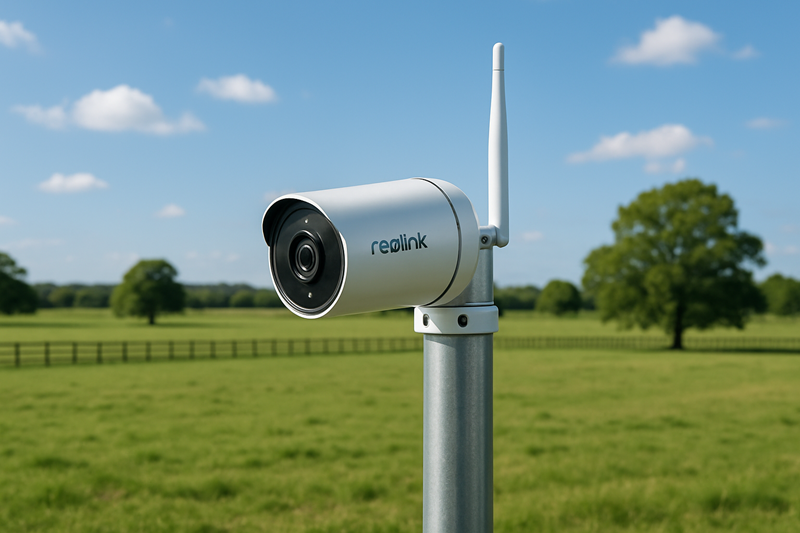
Wireless cameras provide easier installation and placement flexibility without extensive cabling but may face connectivity issues with weak Wi-Fi signals or network interference. An outdoor camera can enhance security in these situations.
Evaluate Wi-Fi signal strength at potential installation spots before securing cameras. Base your choice between wired and wireless cameras on your specific needs and circumstances.
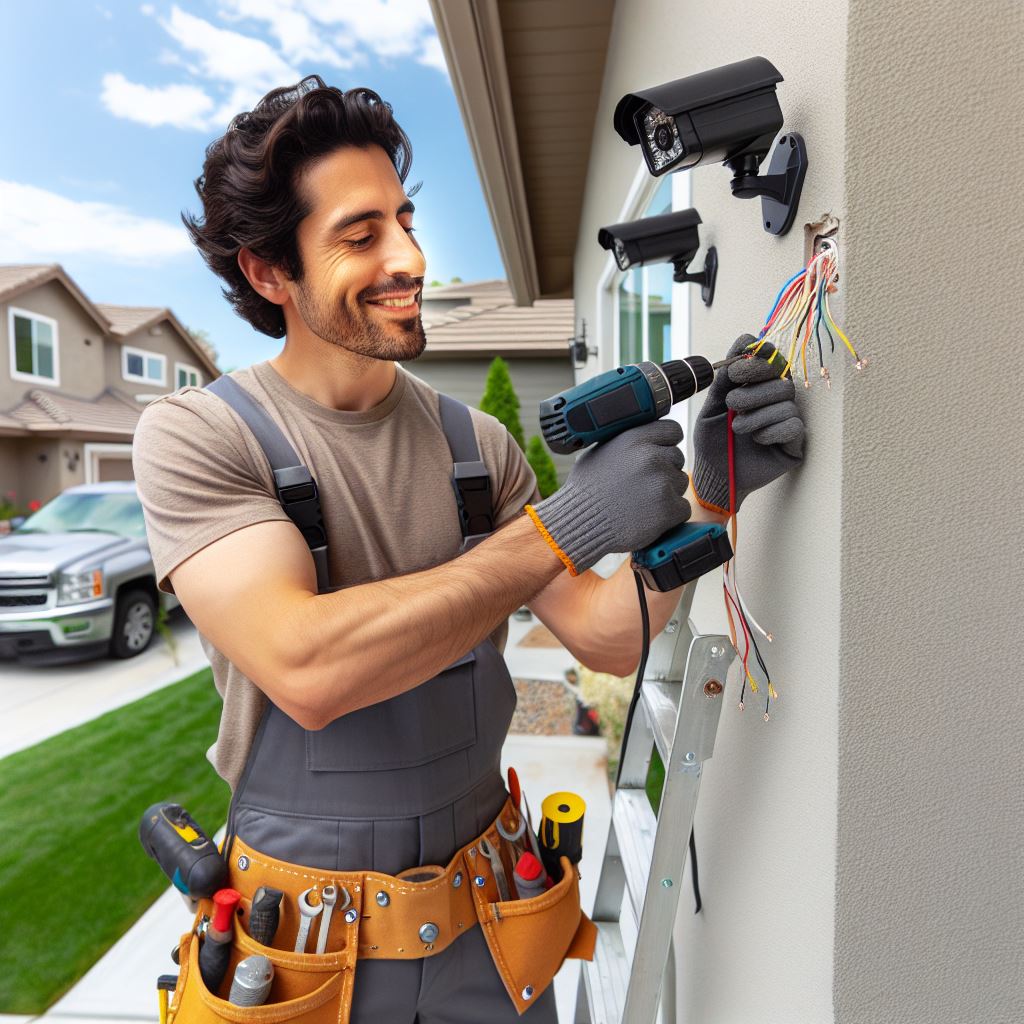
Step-by-Step Guide to Installing Wired Cameras
Installing wired cameras involves selecting locations, mounting cameras, running cables, connecting to power, and linking to recording systems. This guide will break down the process into three main steps:
- Mounting the Cameras
- Running Cables and Connecting Power
- Connecting to DVR/NVR.
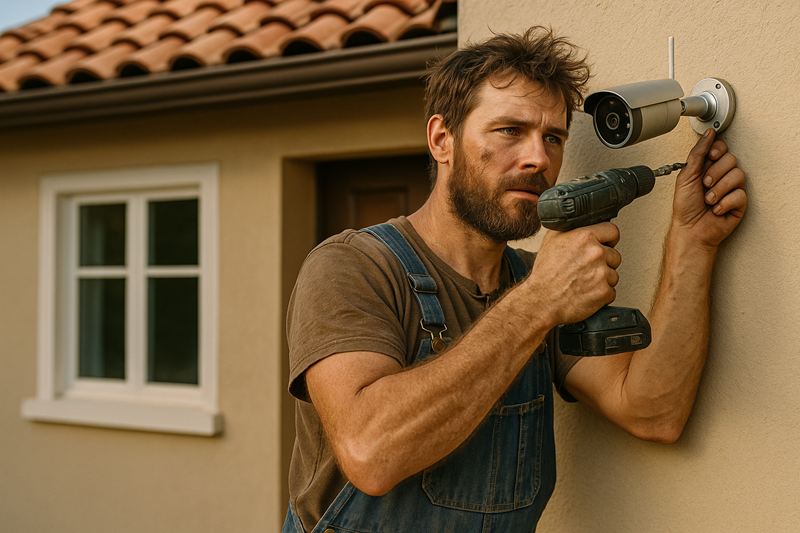
Mounting the Cameras
Select optimal locations for unobstructed views to mount wired cameras securely. Cameras can be placed on tables, mounted on walls, or attached to magnetic surfaces. Use sturdy brackets to secure cameras to walls or ceilings, ensuring stability and correct positioning.
Adjust camera angles to capture desired areas without blind spots. Proper mounting ensures stability and effective long-term function.
Running Cables and Connecting Power
Run cables and connect power using high-quality Ethernet and coaxial cables to ensure steady power and data transmission. Seal cable entry points properly to prevent moisture damage.
Connect cameras to reliable power supplies like adapters and battery backups. Use cable ties to organize and secure cables, preventing potential damage.
Good cabling and power connections are crucial for the long-term reliability of your security camera system.
Connecting to DVR/NVR
The final step is connecting wired cameras to a DVR/NVR system. Use Ethernet cables and assign unique identifiers to each camera for organized monitoring.
Ensure the digital video recorder or NVR is connected to a monitor using an HDMI or VGA cable for viewing CCTV footage on a TV. This setup enables effective property monitoring and footage review.
Step-by-Step Guide to Installing Wireless Cameras
Installing wireless cameras is simpler without extensive cabling. This guide covers mounting, setting up the Wi-Fi connection, and syncing with monitoring devices.
Mounting the Cameras
Mounting wireless cameras is straightforward. Choose locations, use mounting brackets to secure cameras, and ensure they are battery-powered or connected to a continuous power source.
Adjust camera angles for optimal coverage and verify a clear view of monitored areas. Proper mounting ensures effective function and necessary footage capture. To enhance security, install cameras in strategic locations.
Setting Up Wi-Fi Connection
To set up the Wi-Fi connection for wireless cameras, connect them to your Wi-Fi network. Plug in the camera, turn it on, and follow the manufacturer’s setup instructions.
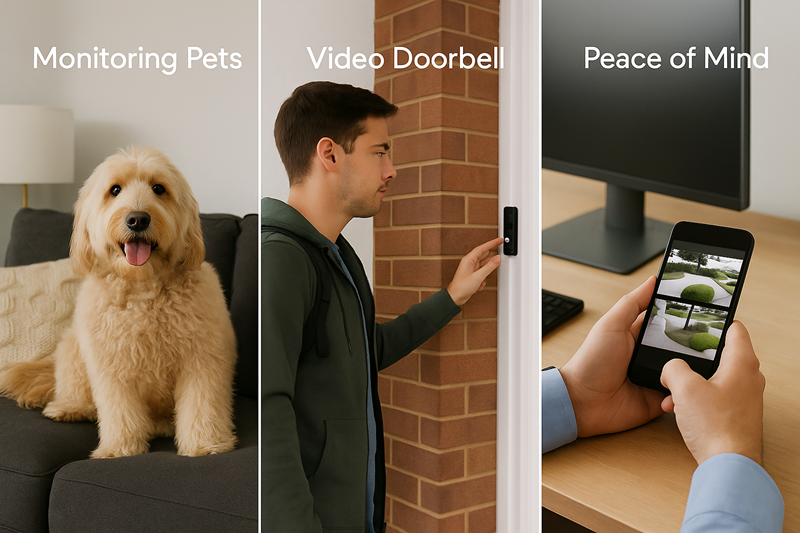
Download the corresponding app on your smartphone or tablet, ensuring devices are on the same Wi-Fi network for smooth syncing. This setup allows remote viewing and management of your security cameras.
Syncing with Monitoring Devices
Syncing wireless cameras with monitoring devices is crucial for easy management. Follow installation instructions to connect cameras to Wi-Fi and configure settings for remote access.
Download the appropriate app for your camera model and follow on-screen prompts to sync with the app. This enables access and management of your camera feed from anywhere, enhancing property security.
Testing and Adjusting Your Security Camera System
Test and adjust your security camera system to ensure proper functionality. Plug in the cameras, power them up, and test the system for correct video display.
After testing, follow these steps:
- Adjust camera angles for optimal coverage and clear footage.
- For wireless cameras, position them near Wi-Fi access points for better connectivity.
- Use a Wi-Fi extender if necessary for areas with weak signals.
Common Installation Mistakes to Avoid
Avoid common mistakes to ensure effective functioning of your security camera system:
- Do not place cameras in hidden spots or behind obstructions.
- Avoid placing them near windows to prevent glare.
- Avoid placing them near heat sources to prevent damage.
Regularly monitor security footage to identify any blind spots or unusual activities related to crime.
Legal Considerations for Security Camera Placement
Consider legal aspects when installing security cameras. Avoid placing them in areas where people expect privacy, like bathrooms or bedrooms, and ensure they do not capture views of neighbors’ properties to keep those areas protected. Security camera installation tips should be done thoughtfully to respect privacy.
Inform individuals about surveillance with clear signage, and ensure footage is securely stored and accessed for valid reasons only. Be mindful of regulations regarding audio recording, which requires consent from those being recorded.
Maintaining Your Security Camera System
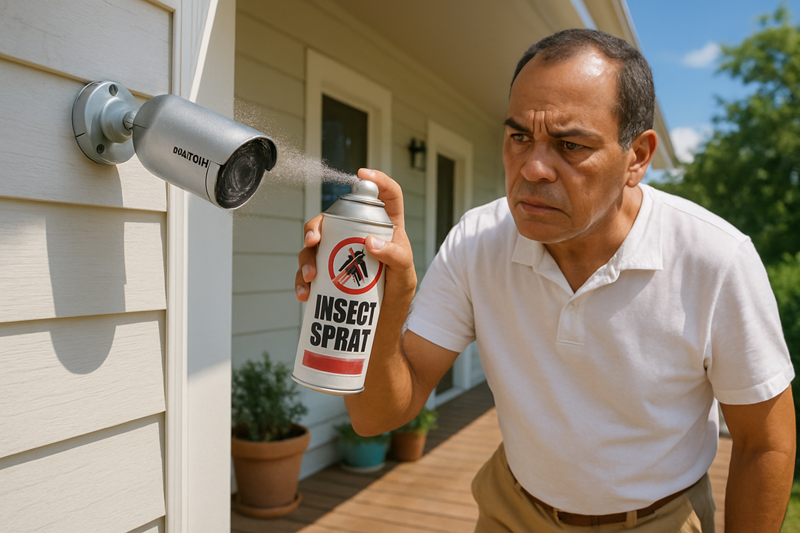
Regular maintenance is crucial for the longevity and effectiveness of your security camera system. Routine inspections and cleaning prevent dirt, bugs, spider webs and and environmental factors from impairing image quality. Establish a schedule to check camera positioning, cable integrity, and overall system performance.
Regular software updates and data backups enhance functionality and protect against vulnerabilities on the computer. Continuously review footage to identify security threats and improve system coverage.
Professional vs. DIY Installation
Deciding between professional and DIY installation depends on your technical skills, budget, and system complexity. DIY installation is often more budget-friendly and offers flexibility in scheduling and customization, but may lack quality without technical expertise, which can affect the overall cost during the installation process.
Consider the following when dealing with professional installation installers:
- They bring specialized tools and expertise, enhancing installation quality.
- Ensure they are licensed and comply with local regulations.
- Weigh the pros and cons of each approach to make an informed decision about how they are installed.
Sydney Data Cabling can assist in any or every part of a security camera installation. Please feel free to contact us for an obligation free discussion.
Summary
In summary, installing a security camera system is a crucial step in protecting your property and ensuring safety. From choosing the right equipment to proper installation and maintenance, each step plays a vital role in the effectiveness of your security system. Whether you opt for professional or DIY installation, a well-installed system will provide peace of mind and a secure environment.