A Detailed Technical Guide For Installing Your Security Camera System With Professional Results
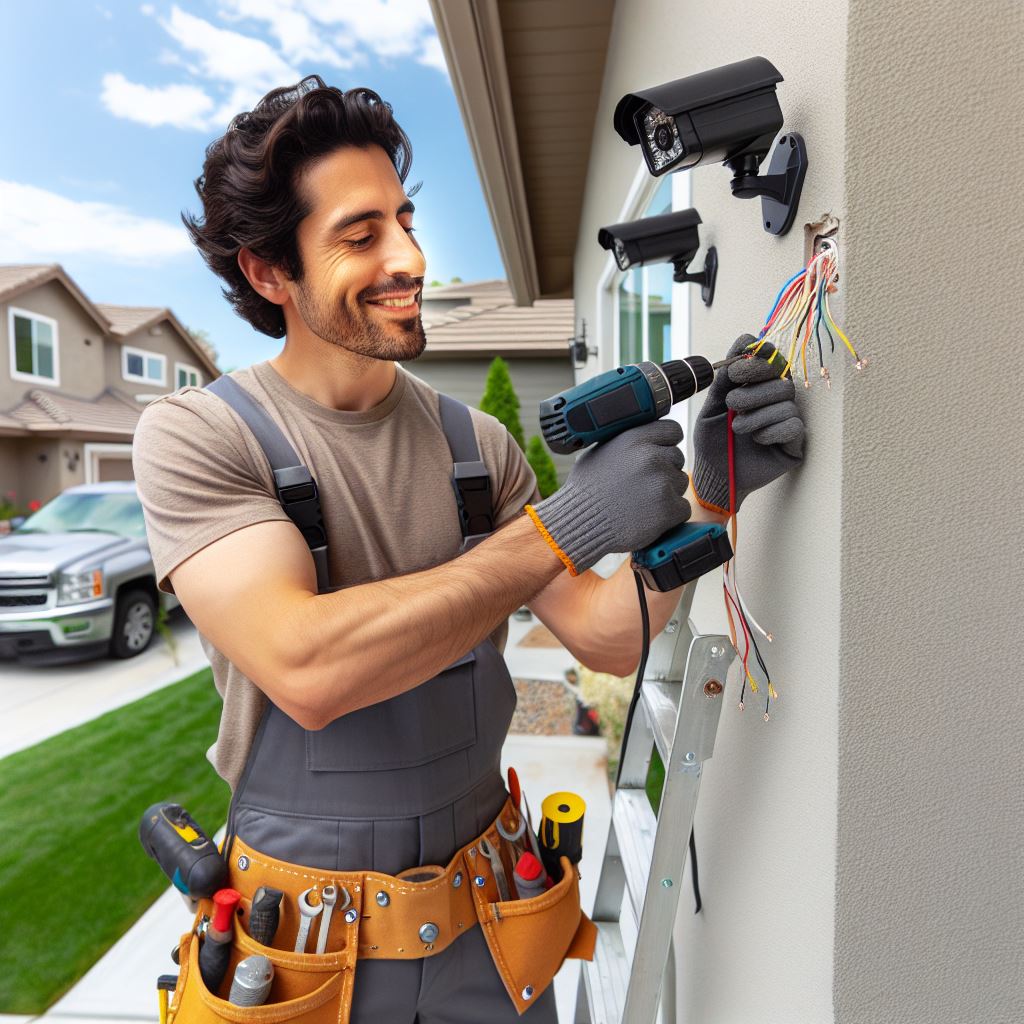
Installing security camera wiring is an essential part of setting up a robust surveillance system. Whether you are a professional installer or a DIY enthusiast, understanding the intricacies of wiring, the required hardware, and best practices is crucial for achieving a seamless and reliable setup. This step-by-step guide provides comprehensive instructions for installing security camera cabling, including specific subsections on coaxial cable for analogue cameras, Ethernet network cables, and WIFI – wireless security cameras. Additionally, it covers various powering methods, such as Power over Ethernet (PoE security cameras), mains powered, and battery, with tips on connecting mains power to hard-to-reach places.
Required Hardware for the Installation Process
To achieve a professional installation, the following hardware is typically required:
- Security cameras (coaxial – analogue cameras or Ethernet Cable / WIFI Network Cameras)
- Digital Video Recorder (DVR) or Network Video Recorder (NVR)
- Power supply units (for non-PoE security cameras)
- PoE switches or injectors (for PoE security cameras)
- Ethernet cables (Cat5e or Cat6) pre-made cables or preferably a spool of cable.
- RJ45 Connectors and an RJ45 Crimping tool.
- Coaxial cables (RG59 or RG6)
- BNC connectors and crimping tools (for coaxial security cameras)
- Drill and drill bits
- Pull wire
- Cable management tools (cable ties, clips, conduits)
- Weatherproof boxes (for outdoor connections)
- Battery packs (for battery-powered security cameras)
- Power outlets and wiring (for mains-powered security cameras)
Coaxial Style – Analogue Camera Installation
Coaxial cameras, also known as analog cameras, use coaxial cables to transmit the video signal. Coaxial Cable or COAX for short is a shielded single wire terminated with BNC connectors. These are the same cables you may use for your TV antenna connection. Here are the steps to install coaxial style cameras:
Wiring the Analog Security Cameras
- Determine the camera locations and measure the distances to ensure you have sufficient cable length.
- Run RG59 or RG6 coaxial cables from the DVR to each camera location.
- Use a drill bit to create holes for running the cables through walls or ceilings.
- Attach BNC connectors to both ends of the coaxial cables. Use a crimping tool to secure the connectors properly.
- Connect the BNC connectors to the camera and the DVR.
Powering Analog Security Cameras
- Use a power supply unit (PSU) to provide power to the cameras.
- Run a separate power cable from the PSU to each camera location.
- Secure the power cables using cable ties or conduits to prevent them from dangling.
Ethernet Security Camera Installation
Ethernet cameras, also known as IP cameras, use Ethernet cables to transmit data. Ethernet cables are the standard cables we use to connect data to most IT devices, typically you will recognise these by the bright blue exterior sheath. Ethernet cable consists of 8 cores of multicoloured copper wires. Many models also utilise the Ethernet cable to also supply Power, thereby eliminating the need to find power close by and run additional cabling. This type of power is called “Power over Ethernet” or POE for short.
Wiring IP Security Cameras
- Determine the camera locations and measure the distances to ensure you have sufficient cable length.
- Run Cat5e or Cat6 Ethernet cables from the NVR or PoE switch to each camera location.
- Use a drill bit to create holes for running the cables through walls or ceilings.
- Ensure to secure the cable securely.
- Encase security camera cables in conduit in exposed areas to eliminate potential damage.
- Terminate the Ethernet cables with RJ45 connectors using a crimping tool.
- Connect the RJ45 connectors to the camera and the NVR or PoE switch.
Powering IP Network Security Cameras
- If using PoE, the Ethernet cable will deliver both power and data. Ensure the PoE switch or injector is connected to a power source.
- For non-PoE cameras, use a separate power supply unit to provide power to the cameras.
- Source a power point GPO close to each camera to power them from.
- If a power point GPO is not close to the camera then new power cabling will need to be run. In Australia a licenced electrician is required to run ANY power systems.
- For outdoor security cameras, speak to us for safety and isolation of mains powered security cameras.
WIFI Security Camera Installation
WIFI or Wireless Security Cameras eliminate the need for extensive data and video cable. However, this type of security camera, still requires power to operate. Many wireless systems can be powered via battery and/or Solar arrays if mains power is not nearby.
Wiring the power for WIFI Security Cameras
- Determine the camera locations and ensure they are within range of your WIFI network.
- Mount cameras to wall, ceiling or poles.
- Use a drill to create holes for running the power cables through walls or ceilings if necessary.
- Connect the camera to your WIFI network following the manufacturer’s instructions.
Powering WIFI Security Cameras
- Connect the camera to a power source using the provided power adapter.
- If using mains power consult an electrician if there is no power source close by or the installation is outside.
- Secure the power cables using cable ties or conduits to prevent them from dangling.
What options do I have for Powering Security Cameras
As technology progresses and the demand for highly available surveillance systems increase, all manufacturers have adopted all means available to power their IP camera systems to ensure a security camera can be fitted to nearly any location.
Power over Ethernet (PoE) Security Cameras
The utilisation of Power over Ethernet PoE for your Security System and its devices allows for a single run of cabling. It also provides power to all devices at a lower voltage, which is perfect for the DIYer to run home security camera wires themselves.
Advantages of POE Security Cameras
- Allows a single cable ruin to the cameras destination.
- May eliminate the need for a licensed electrician to run cables.
- Provides a single point of power and network connection for the entire system.
- Power can maintained in system easily by utilising UPS (uninterruptable power supply) on POE switch.
- Allows cameras to be installed in more remote and inconspicuous locations.
Disadvantages of POE Security Cameras
- Requires POE Switches and/or POE Injector power adapters.
- Power loss over ethernet reduces ethernet cable length, limiting the maximum distance of longer distance cameras.
- All cameras are lost if POE switch fails.
- All cameras are lost if power is disconnected and the is no backup power supply.
- Mains Powered Security Cameras.
Mains power involves connecting the cameras directly to the electrical grid.
Advantages of Mains Powered Security Cameras
- Provides continuous typically uninterrupted power.
- Required for high power security cameras.
- Required for many motorised, movable, panning and zooming security cameras.
Disadvantages of Mains Powered Security Cameras
- Required an Australian licensed electrician to install.
- Can be costly if runs are long and require dig ditching or tunnelling.
- Cameras can be easily disabled if power is cut and a secondary power source is not provided.
Battery Powered Security Cameras
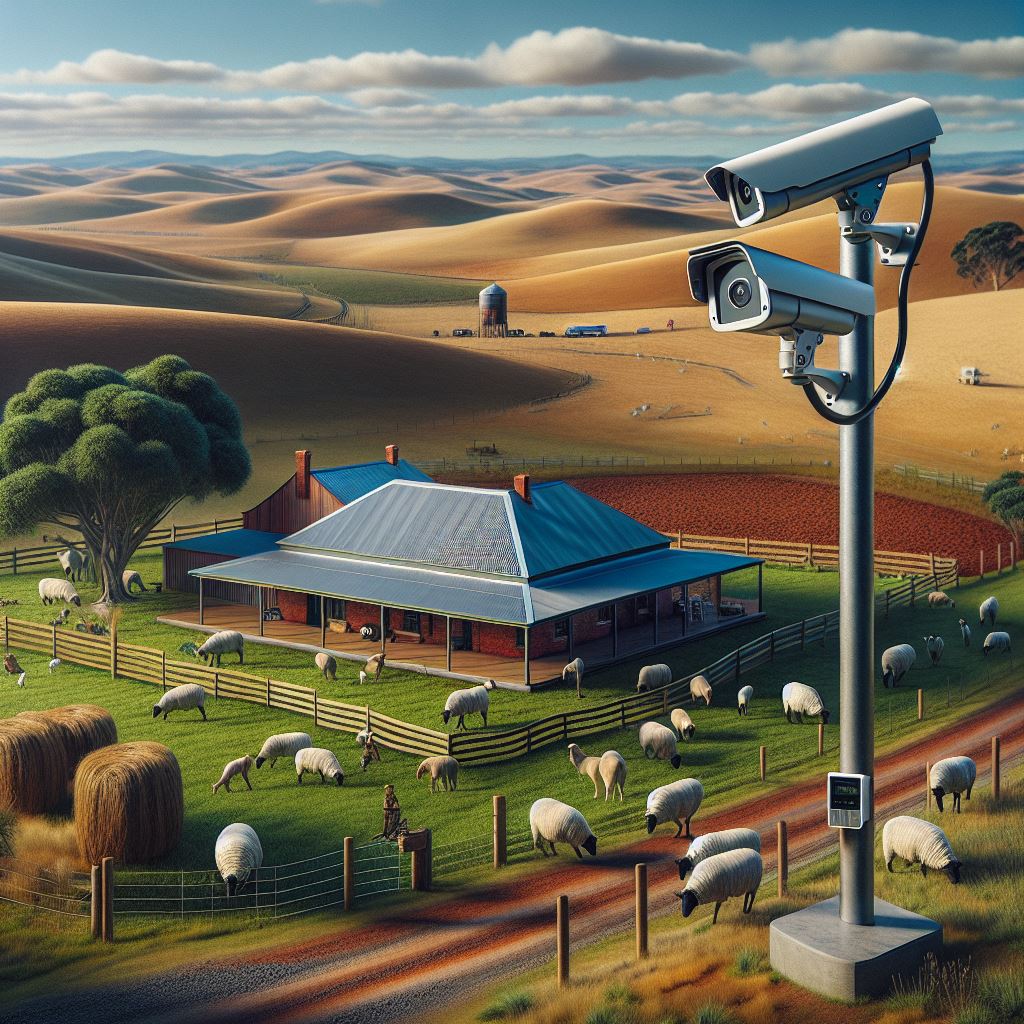
Battery-powered security cameras are wireless and can be placed anywhere. Many of these are standalone units like the Trail Cameras that record all data to memory cards . These are perfect for remote locations, outdoor use and off grid installations.
Advantages of Battery Powered Security Cameras
- Completely wireless security.
- Perfect for remote outdoor cameras.
- Flexible placement.
Disadvantages of Battery Powered Security Cameras
- Limited battery life and therefore camera life.
- Requires regular changing and or charging of batteries.
- Regular monitoring to change SanDisk Memory Cards.
Solar Powered Security Cameras
As well as having your Security camera powered by battery, Sydney Data Cabling regularly supplements these systems with a small solar array. By using a solar array, rechargeable batteries can be substituted for alkaline batteries, thereby nearly eliminating the requirement to change batteries, charge batteries or have batteries run flat.
Solar Powered Security Camera Advantages
- Can be installed anywhere.
- No need to replace or charge battery banks.
- Is not effected by power outages, power cuts.
- Leave and forget technology.
Solar Powered Security Camera Disadvantages
- Higher capital outlay.
- No good for internal installations.
- Sufficient light is required to keep system running and charged.
- Larger footprint do to solar array requirements.
Factors to consider for your security camera system
Although it may seem a simply weekend project to setup a surveillance system for your home or workplace, just but one of this kits, grab the electric drill and Hey Presto. To achieve a robust solution with peace of mind several factors should be taken into account.
Setup Surveillance Systems for Uninterrupted Recording
Although we have already mentioned the powering of the security system it is important to remember that your surveillance system is dependant on being powered. The power supply to these systems is always the weakest link and that targeted by would be thieves and threats. Some of the best practices for overcoming this limitation is
- Providing a battery or interruptible backup for both cameras, Switches, Recording Device and Internet Connection.
- Placing a security camera in view of the power switch board or mains supply.
- Install key cameras with metal conduits and high-quality cables.
- Add wire guards or other security camera wire protection cover to exposed wiring.
- Utilise weatherproof cables for harsh weather conditions and adverse environmental factors.
- Having parts of the security system save to the cloud as well as local recording device.
- Have images sent to mobile phones as well as recording device.
Securing your Security Cameras and Security System
Its all well and good having a complex and comprehensive security system only to have it all fail either by theft of the recording device or even worse total fire destruction of the entire system. Just like two factor security for your IT systems, having a two facto system for your security system is just as important. Typically you would also want this multi factor system to include an off site element. Best ways to achieve a multifactor secure system –
- Include multiple recoding devices to the system.
- Hide recoding devices well.
- Place recoding devices in fireproof enclosures, ensure adequate ventilation.
- Send a copy of recoding’s to the cloud. Sydney Data Cables, provides a specialised private cloud purpose build for this.
- Record security data at a second premises, building or home. Speak to us about WANs and VPN setup.
- Send Images or video feeds to your mobile phone, both in Realtime and as attachments to Emails.
- Ensure high quailty cameras and installations are setup at all entry points.
Conclusion
Installing security camera wiring involves careful planning, the right hardware, and a good understanding of technical requirements. By following this comprehensive guide, you can achieve a professional and reliable surveillance system that meets your specific needs. Investing time in proper installation ensures optimal performance and long-term durability of your security cameras.


